

Mastering NEJE Diode Laser Engraving
Posted by Gray Chen on
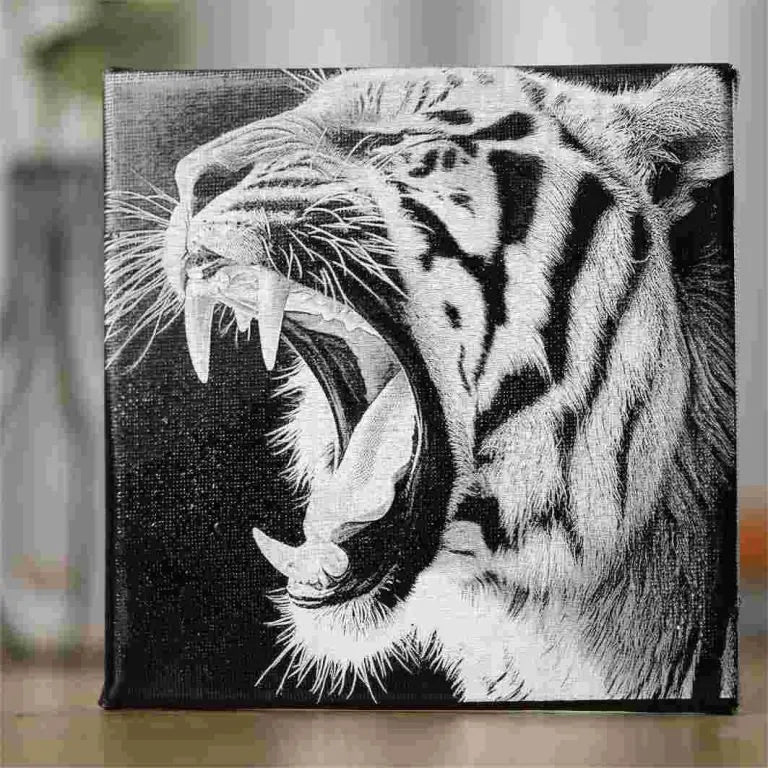
Have you ever seen a crisp wooden sign or leather piece and wondered how such clean contrast came from an affordable diode laser? Here’s the practical path most makers follow to turn decent results into impressive ones.
1. Material Prep — The Foundation
- Wood: Sand 220–320 grit, wipe with alcohol. Dark woods → optional light primer for pop.
- Acrylic: Remove protective film before engraving. Alcohol wipe after to remove white haze.
- Leather: Low-oil (vegetable-tanned), light water mist pre-engrave to reduce char.
Best materials: wood, dark acrylic, leather, natural fabrics, paper, coated glass and steel
Avoid: PVC (toxic), bare metals such as copper and tin, highly reflective surfaces

2. Parameter Perfection – The Heart of Every Great Engrave
Think of power, speed, and line interval as the three legs of a stool—get two right and the third still matters. The following is an example of the E80 module.
Power :
- Fine details & text: 30–50 % (keeps edges crisp).‘
- Deep relief or thick stock: 60–90 % (hardwoods need the upper end; softwoods can over-carbonize).
- Light-colored materials: +10–20 %; dark materials: –10–20 %.
Speed:
- Precision work: 10000–15000 mm/min (slow and steady wins the detail race).
- Large-area fills: 18000–20000 mm/min (fast enough to avoid blurring).
Line Interval:
- Intricate patterns: 0.08–0.1 mm
- Broad fills: 0.1–0.2 mm
3. Design & Scanning Tips
Vector mode for crisp text, logos, and outlines—fast, clean, and perfect for .svg or .dxf files.

Raster mode for photos and shading—keep resolution around 300 dpi to balance quality and processing time.
Layer your design! Assign high-precision settings to fine text and faster, higher-power settings to background fills. In Lightburn, enable unidirectional scanning to eliminate pause marks at direction changes. On wood, align paths with the grain direction—burrs practically disappear.
Image prep is quick but crucial: Convert to grayscale in Photoshop or GIMP, boost contrast, and slightly lower brightness so even light areas still receive enough energy.
4. Must-Do Setup Habits
- Focus every thickness change (0.5 mm error = fuzzy result)
- Air assist + strong exhaust (protects lens & prevents secondary burns)
- Secure material and make sure it's flat!!!
5. Common Problems & Quick Fixes
-Q: Edges too black / charred?
A: Drop power 5–10%, increase speed 500–1000 mm/min.
-Q: Jagged or blurry outlines?
A: Tighten line interval to 0.05–0.1 mm and slow down.
-Q: White frost / haze on acrylic?
A: Wipe with alcohol immediately; consider lower power next pass.
-Q: Wood feels fuzzy with burrs?
A: Finer sanding (220+) + scan along the grain.
-Q: Uneven engraving depth?
A: Level the workpiece and re-focus carefully.
6. The Magic of Multiple Passes – When One Isn’t Enough
One of the biggest “aha!” moments for blue diode users is realizing that multiple passes often beat a single heavy pass. Blue light has fantastic precision but limited penetration, so layering energy is the smart workaround.
When to go multi-pass:
Thick materials needing deep relief (divide total depth into 1–2 mm layers and clean debris between passes).

Dark or reflective surfaces where contrast builds gradually (2–6 passes turn faint marks into bold, professional results).
Low-power machines or conservative first-pass settings—simply repeat the same job 2–3 times for cumulative depth without risking charring.
Critical rules for success:
- Use absolute positioning or alignment marks so every pass lands exactly on top of the last.
- Pause 3–5 seconds (or add a fan) between passes to let heat dissipate.
- Always test on scrap first—some soft plastics max out at 3 passes; dense hardwoods may happily take 5+.
Conclusion
Blue diode engraving rewards patience and smart testing over raw power. Start on scrap, note your best power/speed settings per material, and watch your skills (and Etsy shop) grow. The best results come from the smartest operator—not the strongest laser. Fire up your machine, grab scrap wood, and start experimenting. Your next great piece is just a few passes away!
Happy engraving! ✨